DIY Tips for Installing Hardwood Floors: An Expert's Guide
K&
Preparing for Your Hardwood Floor Installation
Installing hardwood floors can be a rewarding DIY project that transforms the look of your home. To get started, proper preparation is crucial. Begin by measuring the area where you plan to install the flooring. This will help you determine how much material you'll need. Remember to account for an additional 10% to cover mistakes or irregular cuts.
Next, gather all necessary tools and materials. You'll need a tape measure, chalk line, saw, pry bar, and a nail gun or flooring stapler. Don't forget safety gear like goggles and ear protection. Preparing your workspace by clearing furniture and debris ensures a smooth installation process.
Choosing the Right Hardwood Flooring
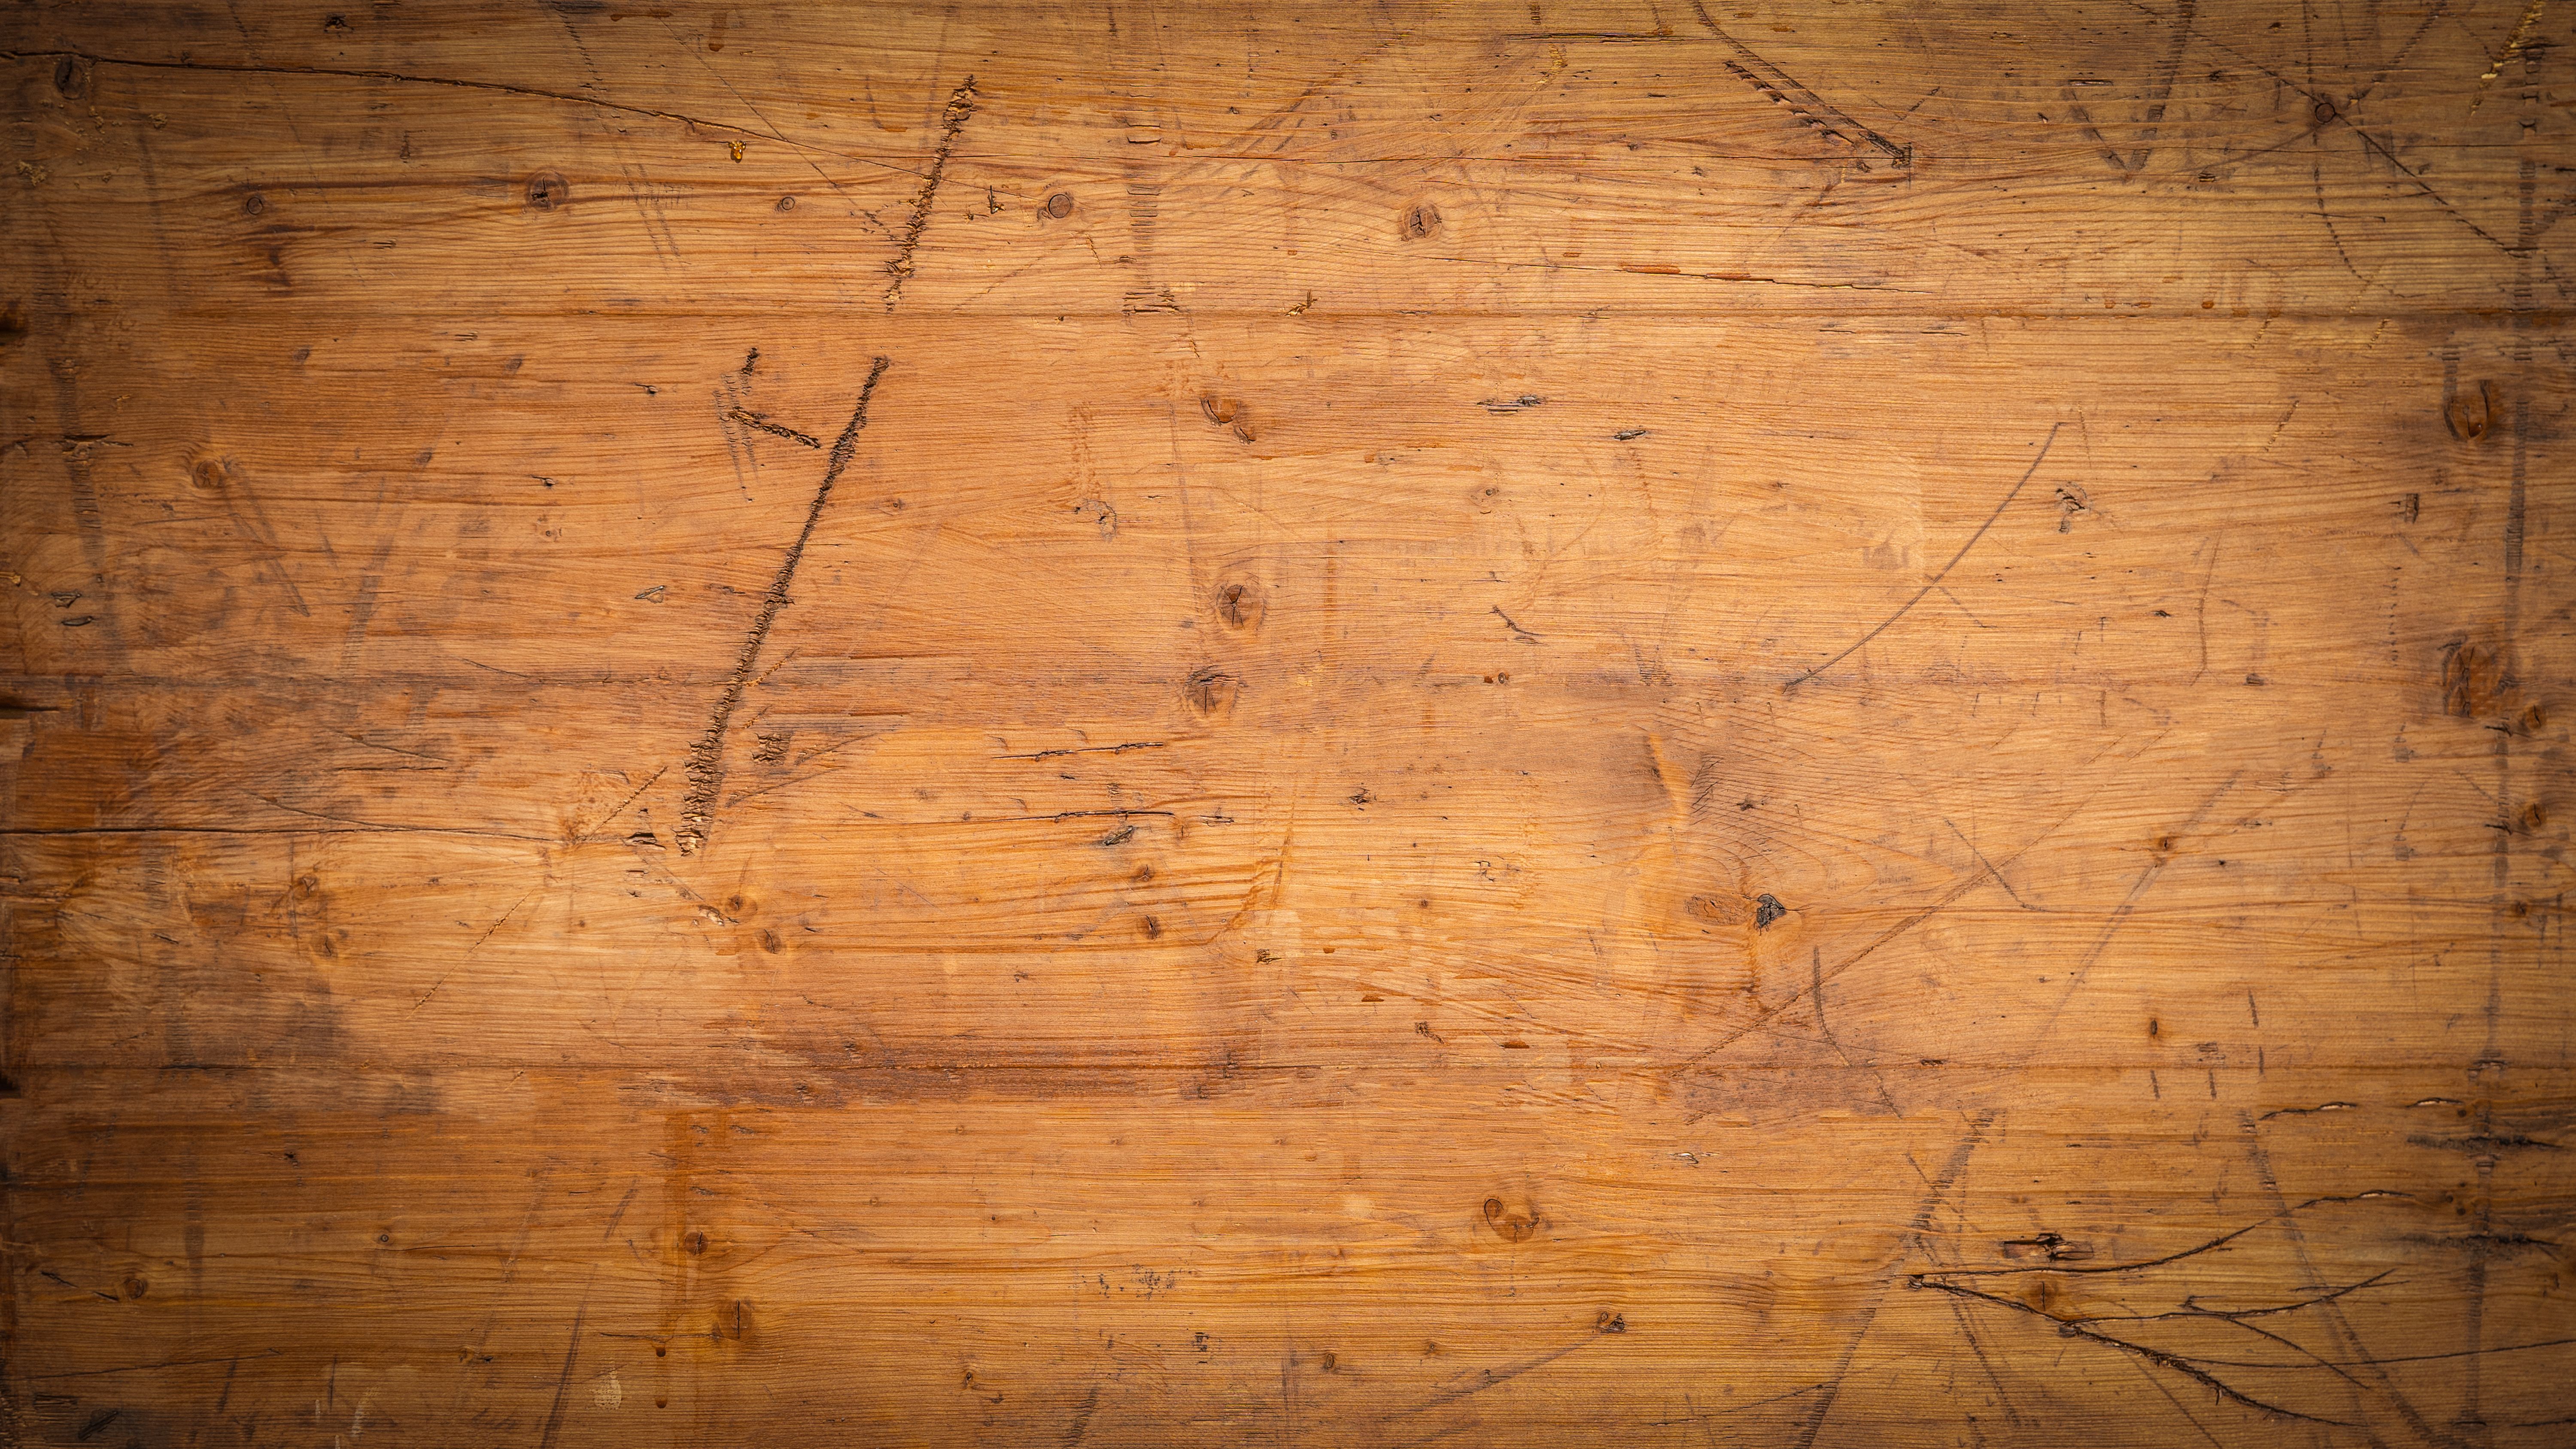
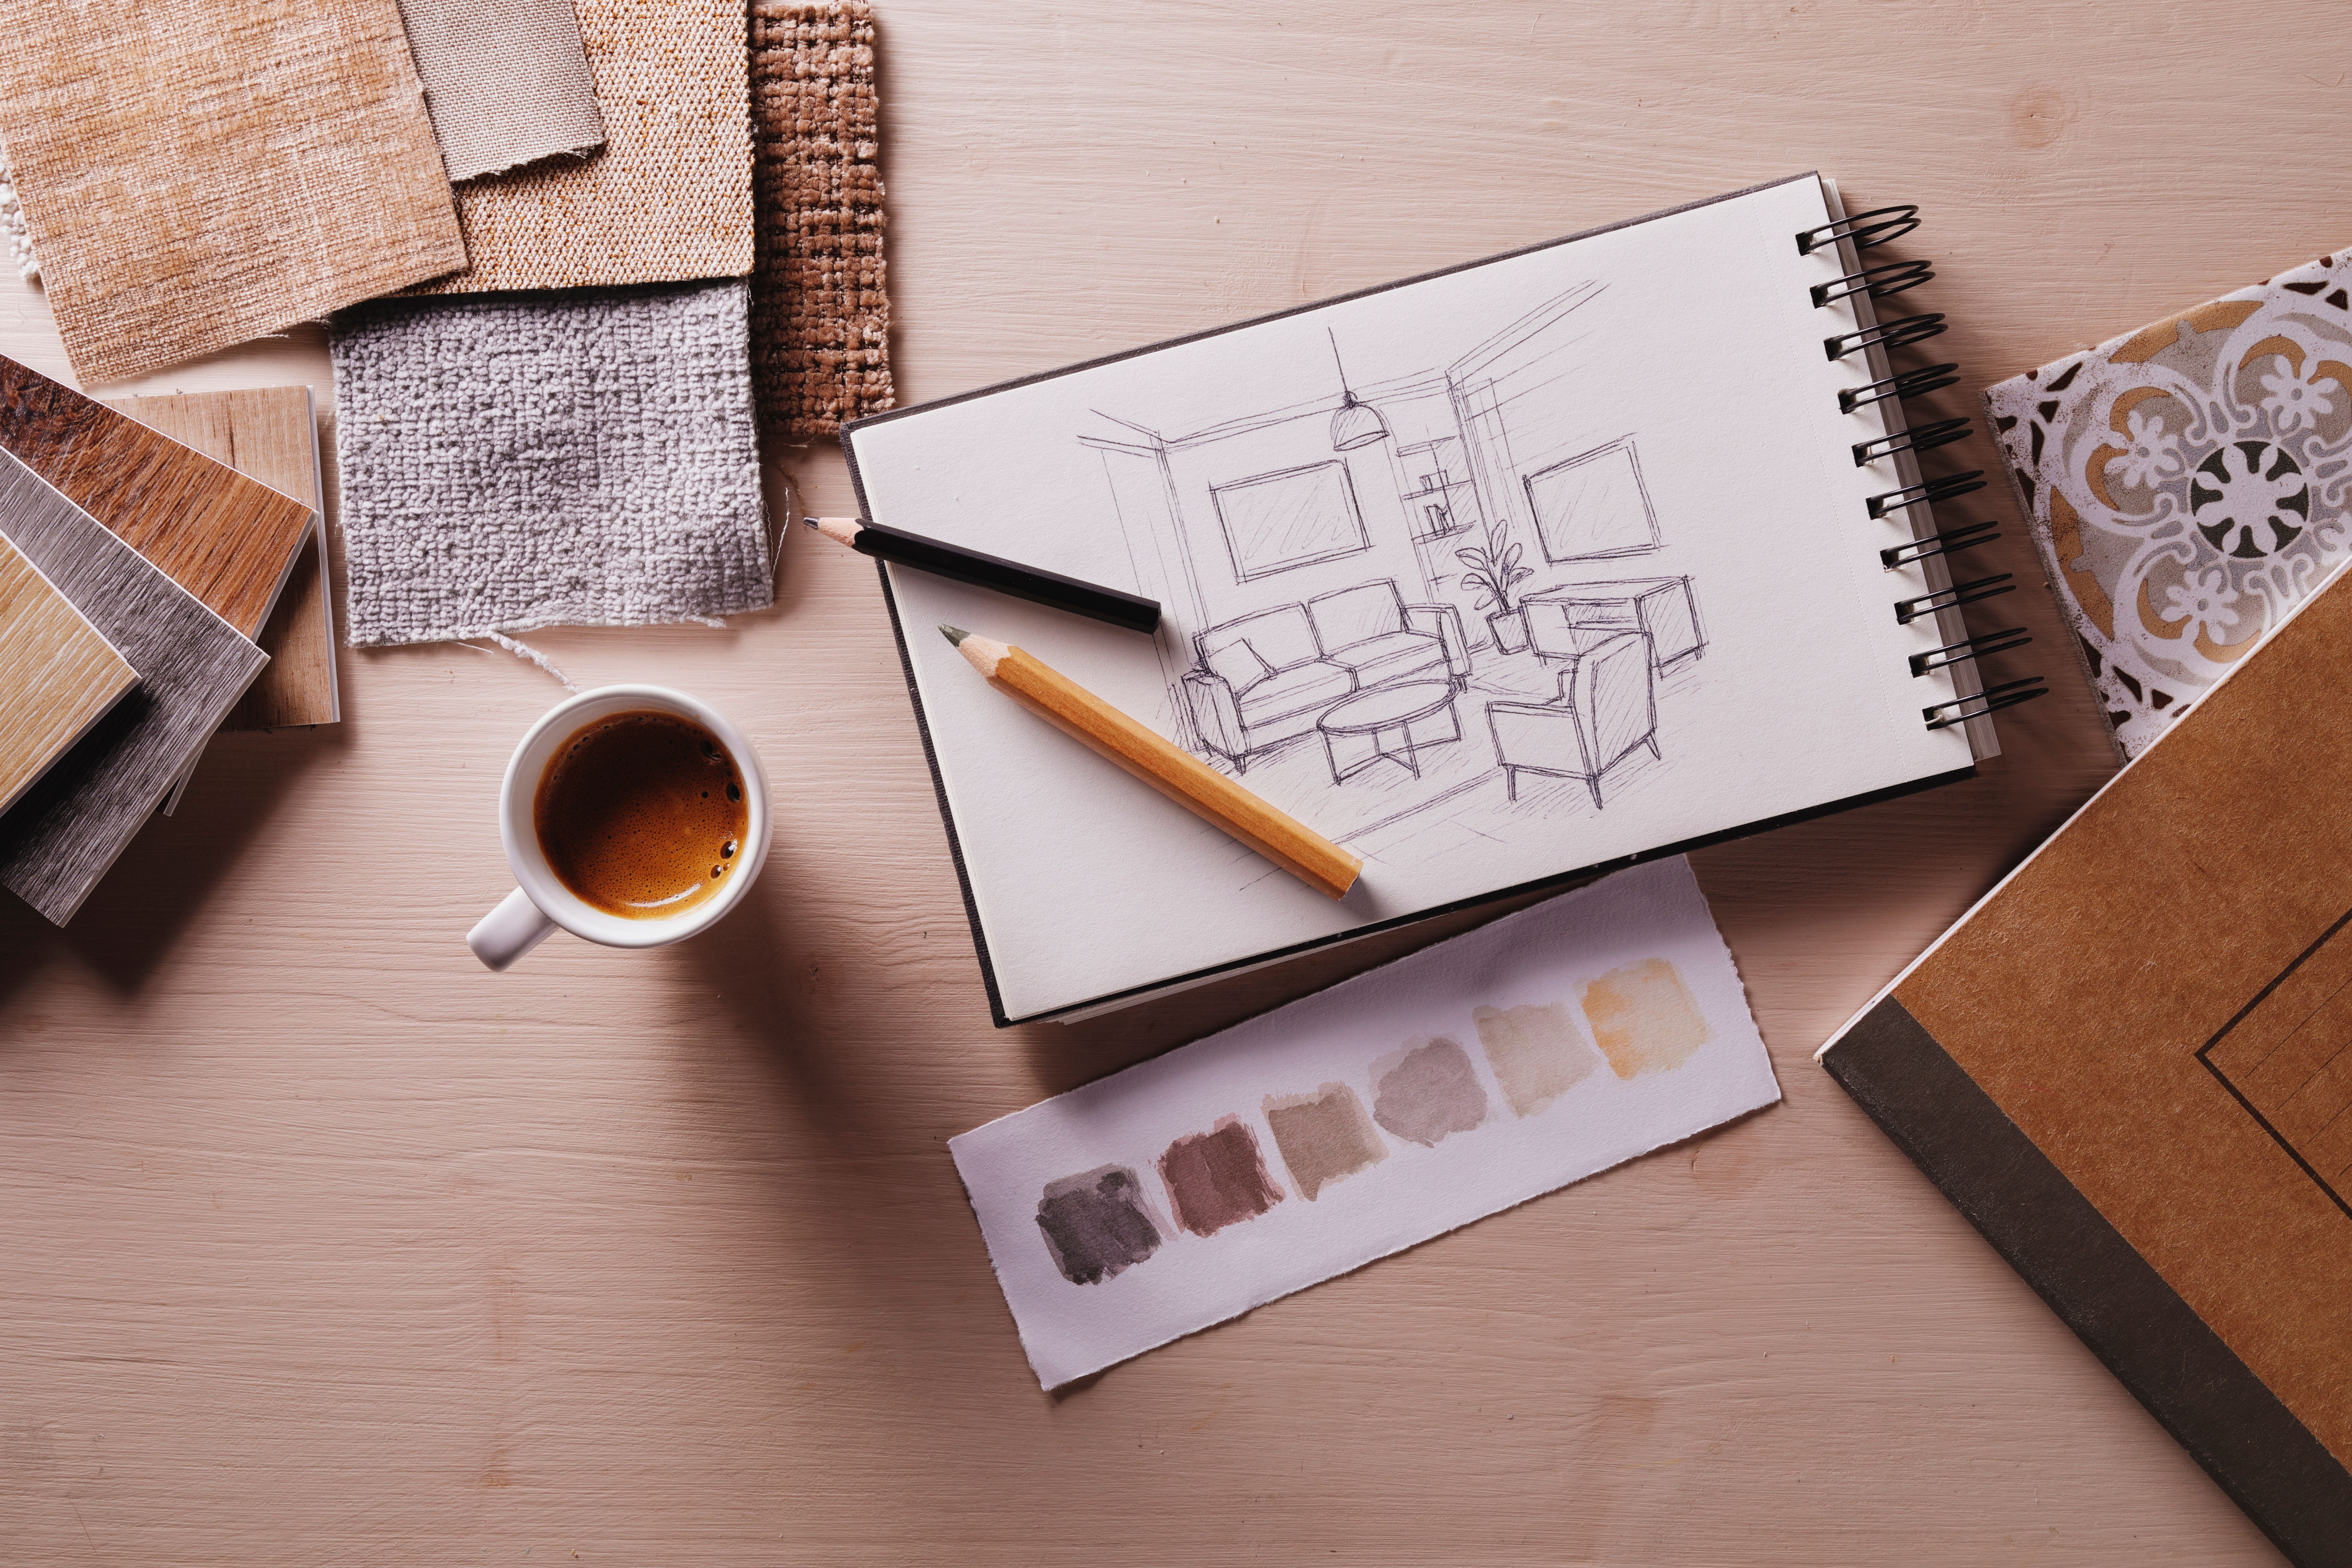
Selecting the right type of hardwood is essential for a successful installation. Consider factors such as wood species, hardness, and finish. Popular choices include oak, maple, and hickory, each offering unique aesthetics and durability. It's important to choose a wood that complements your home's interior design.
Once you've selected your hardwood, allow the planks to acclimate to your home's environment. This process usually takes 48-72 hours and helps prevent expansion or contraction after installation. Lay the planks flat in the room where they'll be installed, maintaining a consistent temperature and humidity level.
Subfloor Preparation
The condition of your subfloor can significantly impact the quality of your hardwood floor installation. Inspect the subfloor for any damage or uneven areas. It's crucial to repair any issues before proceeding. Ensure the subfloor is clean, dry, and level to provide a stable base for your new flooring.
If you're installing over concrete, you'll need a moisture barrier to protect against potential water damage. For wood subfloors, use rosin paper or another recommended underlayment to reduce noise and provide additional stability.

Installation Techniques
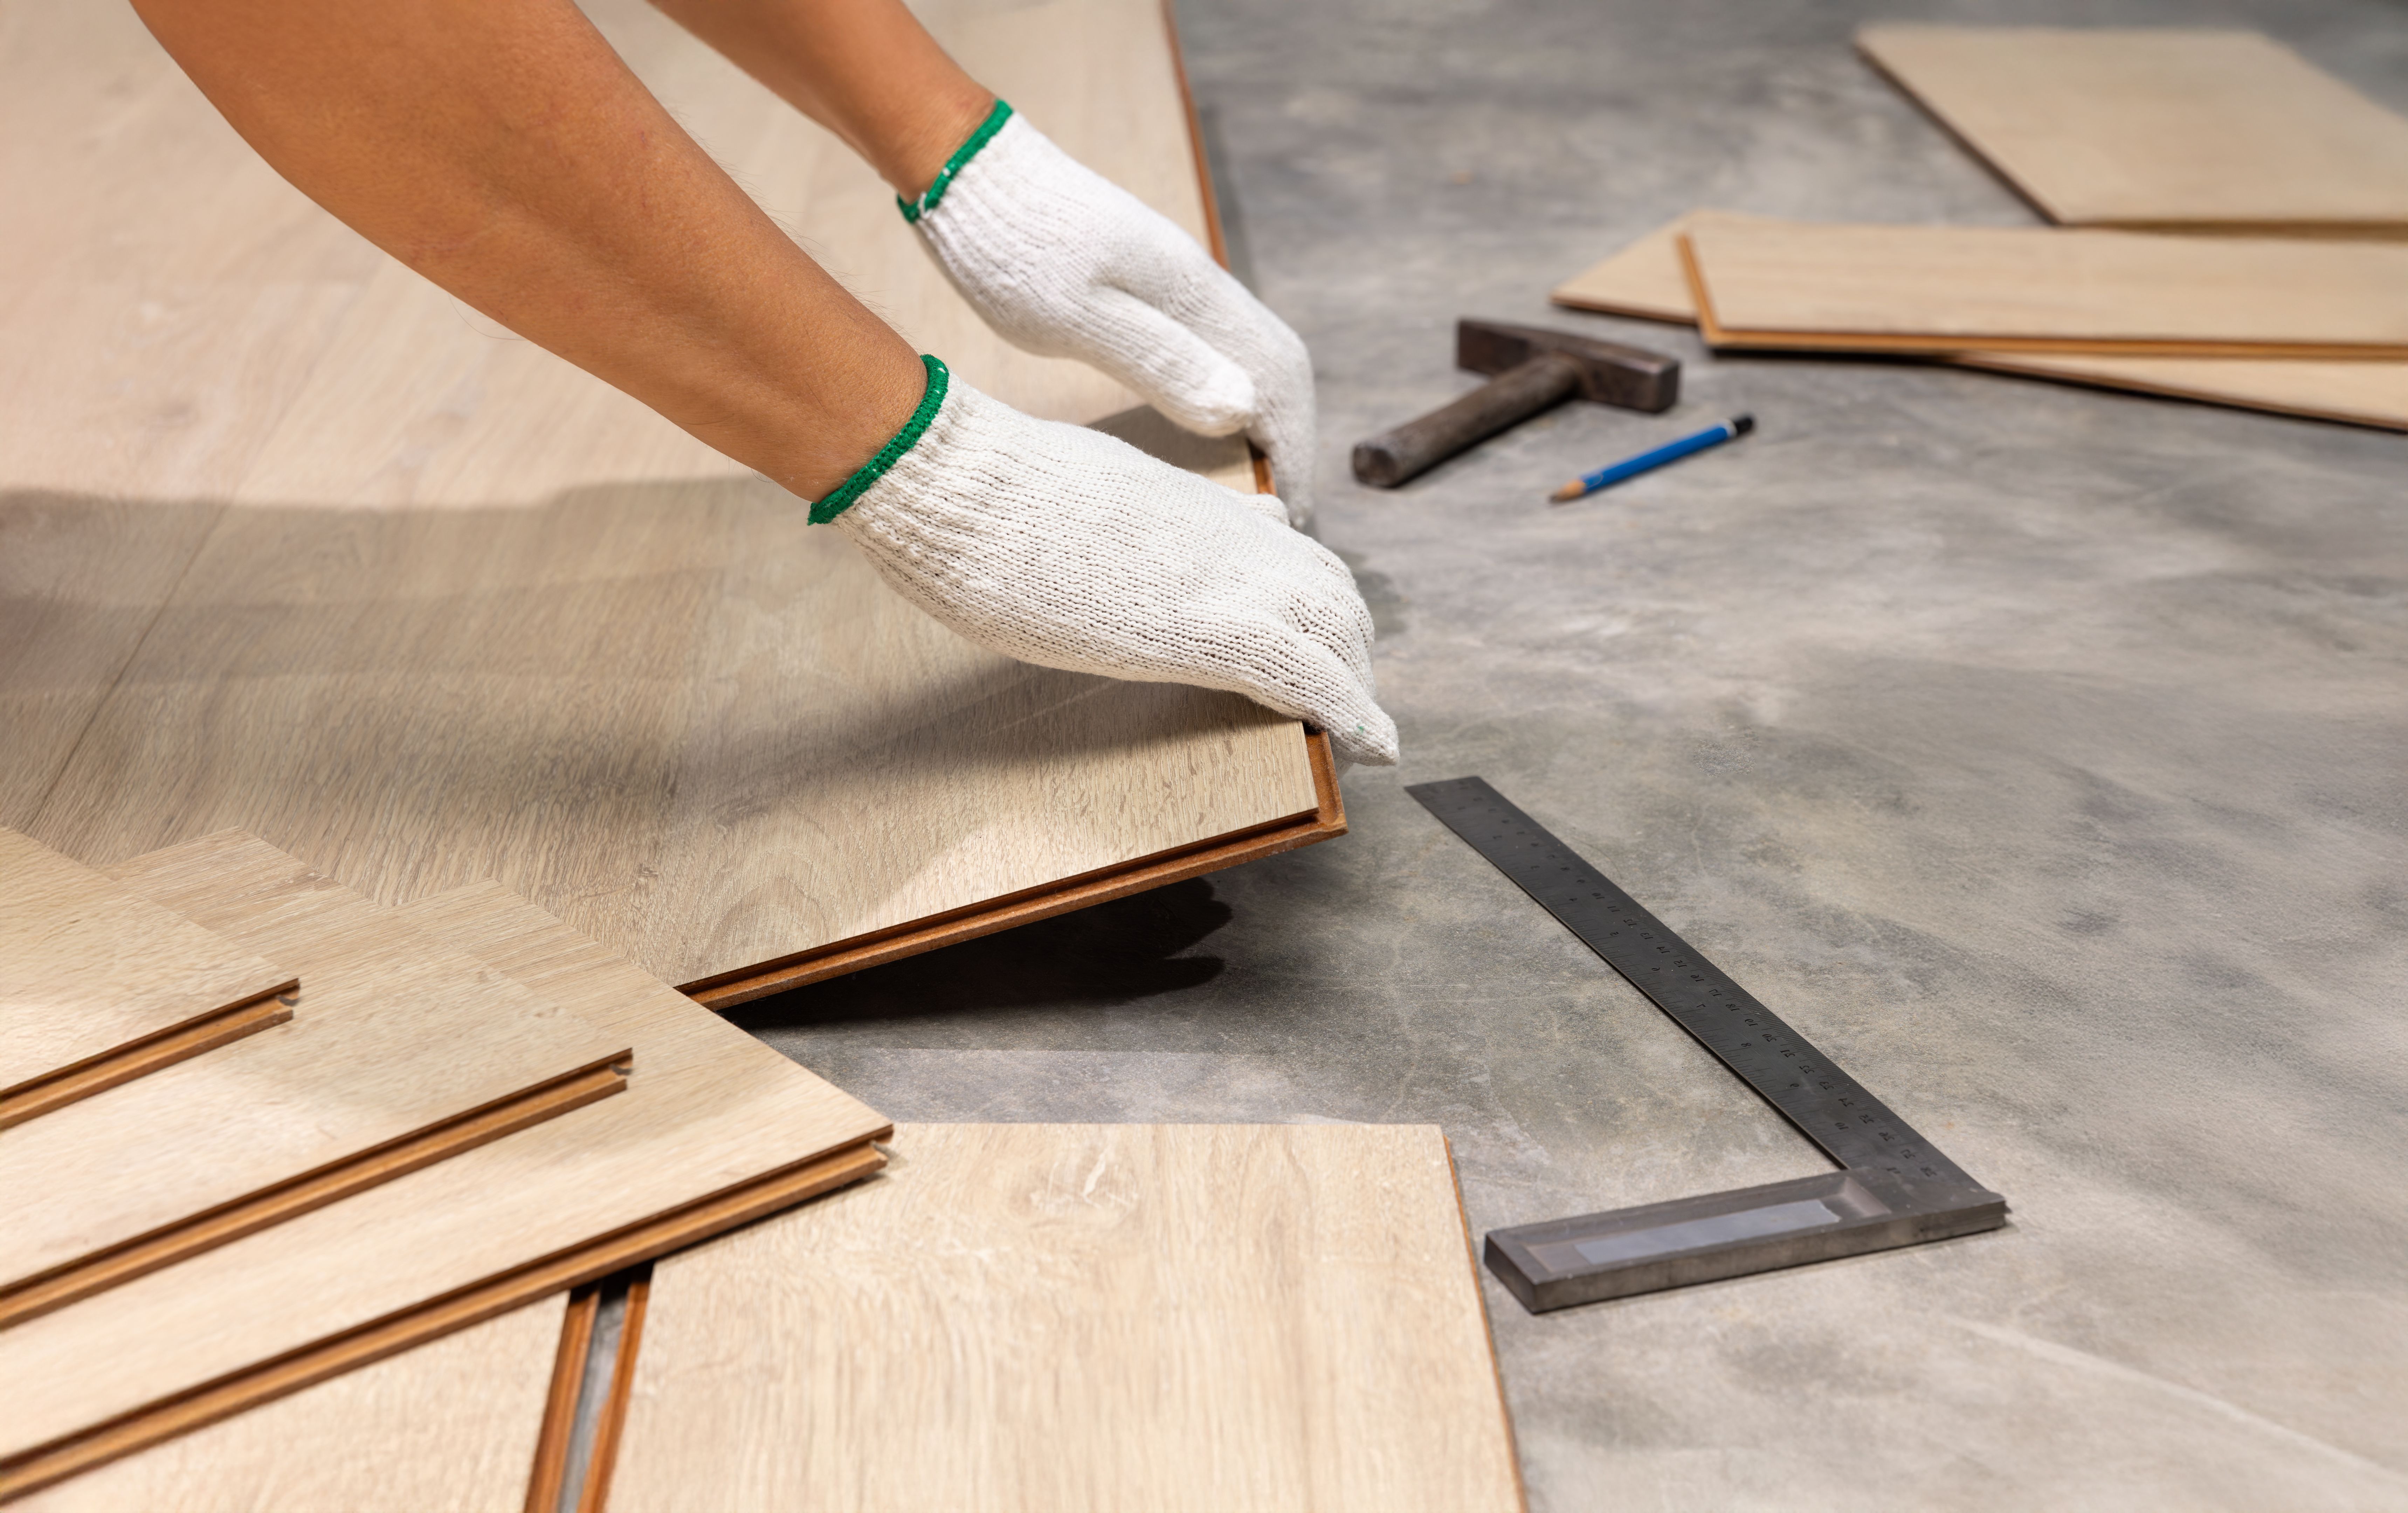
There are several methods to install hardwood flooring, including nail-down, glue-down, and floating techniques. The choice depends on the type of hardwood and subfloor you're working with. Nail-down is popular for solid hardwoods, while engineered planks often use the glue-down or floating method.
Begin by laying the first row of boards along the longest wall, ensuring they are straight and evenly spaced. Use a nail gun or stapler to secure the planks, leaving a small gap between the wall and the flooring to allow for expansion. Continue laying rows, staggering the joints for a natural look.
Finishing Touches
Once all the planks are installed, it's time to add the finishing touches. Trim any excess underlayment and install baseboards or moldings to cover the expansion gaps. These details provide a polished look and help secure the flooring.
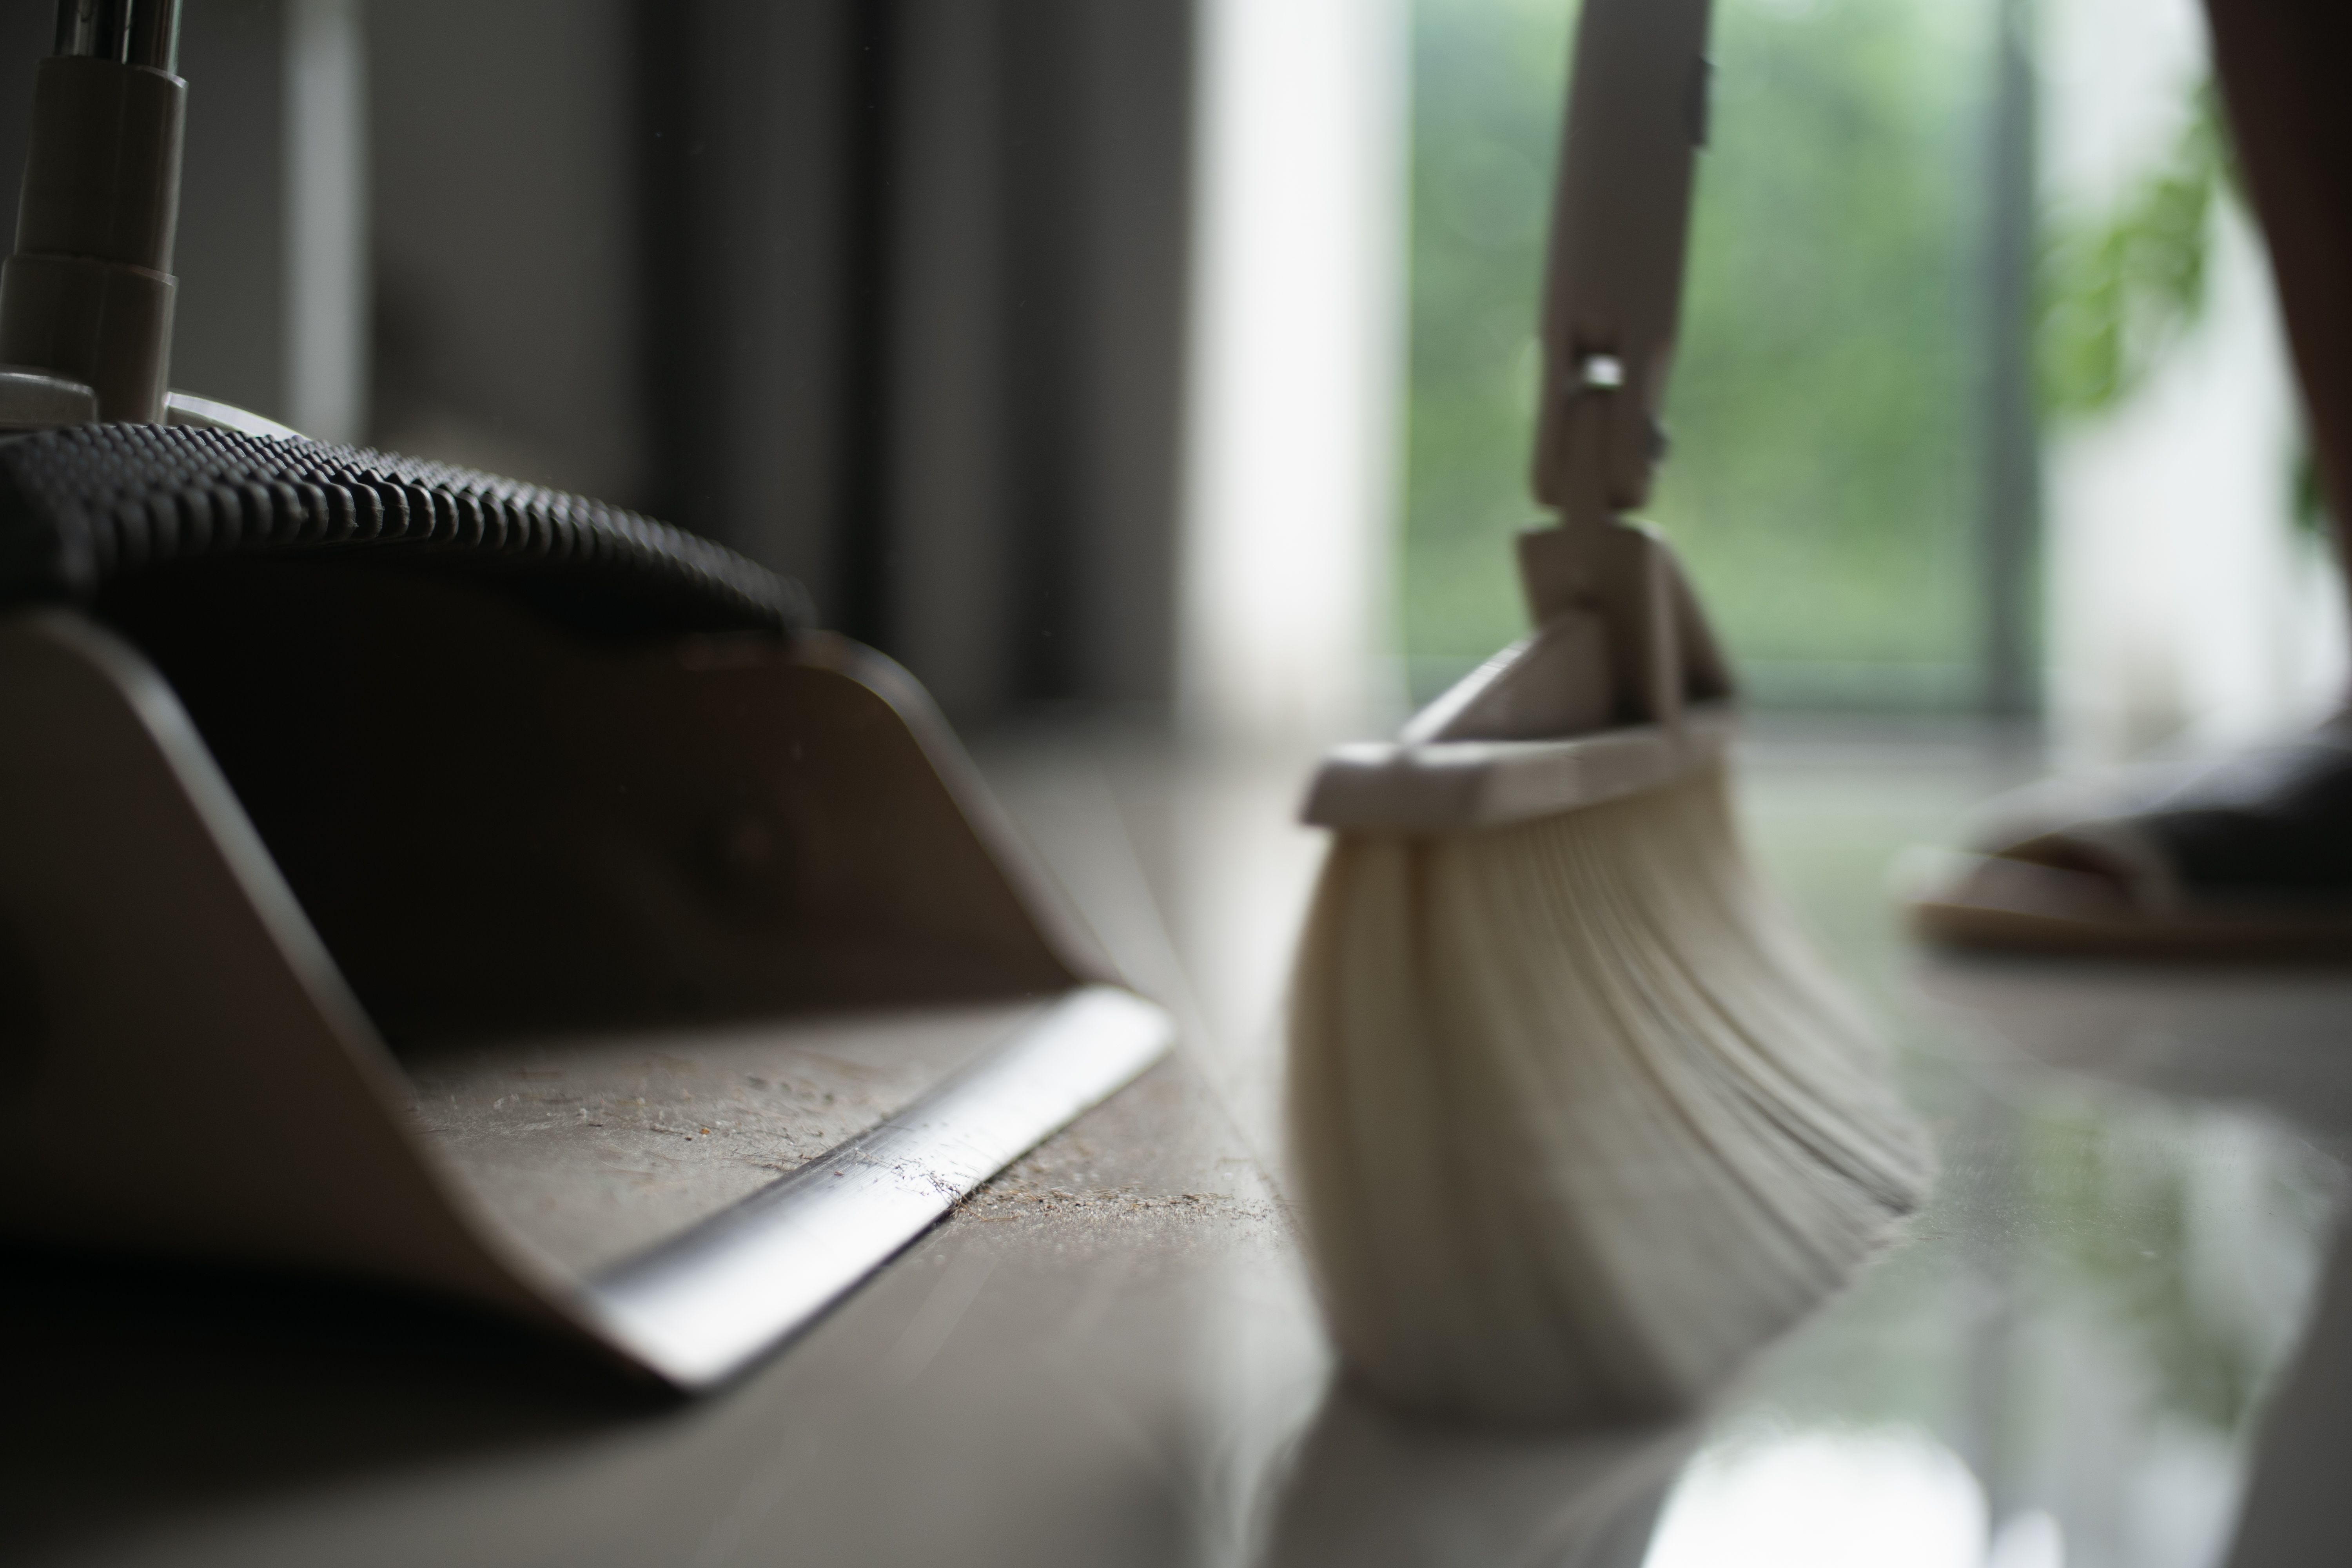
Finally, clean the surface with a manufacturer-recommended cleaner to remove dust and debris. Regular maintenance, such as sweeping and occasional refinishing, will keep your hardwood floors looking beautiful for years to come.